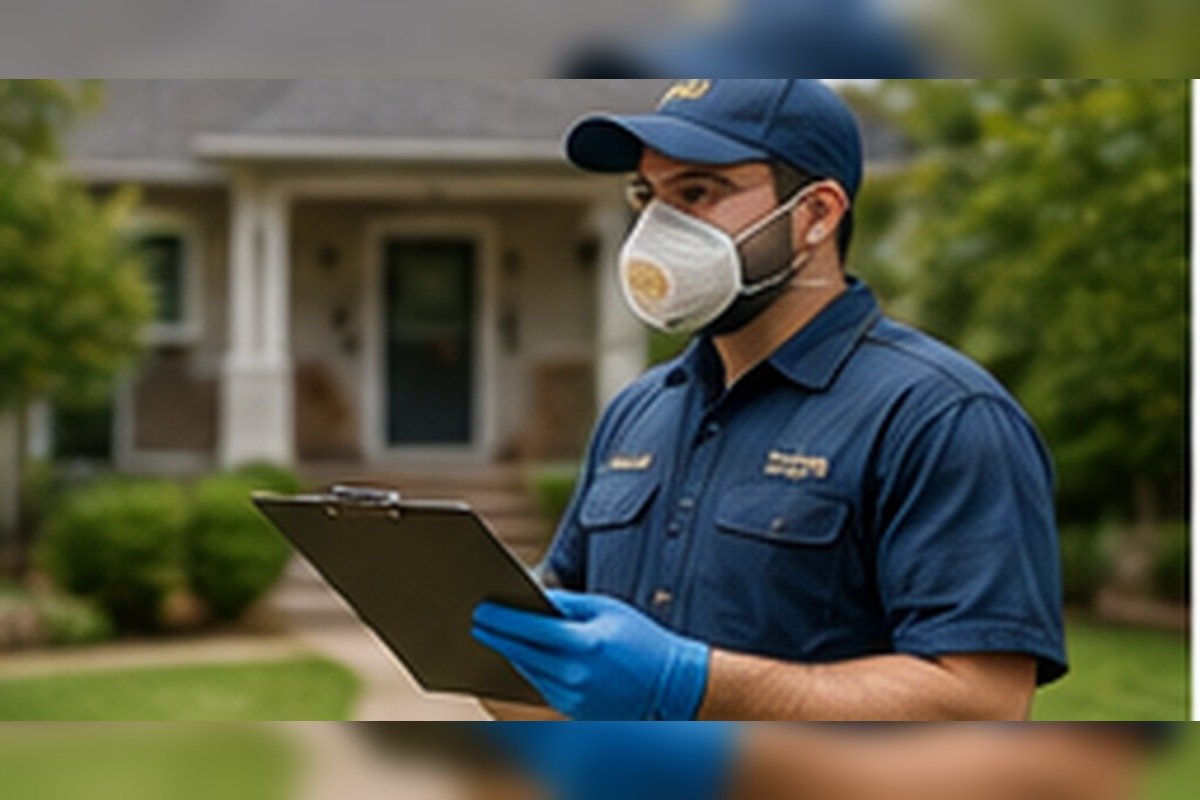
Not every insect requires an exterminator. A pantry package can be discarded, a fruit-fly source cleaned, a torn screen repaired, and an occasional outdoor beetle vacuumed. Professional help becomes rational when the pest cannot be identified, the source is concealed, health or structural consequences are possible, treatment needs specialized equipment or licensing, the infestation crosses rooms or units, or a disciplined DIY program is not producing measurable decline.
Quick answer:
Call promptly for confirmed bed bugs or termites, aggressive stinging nests in walls or high locations, rodents damaging wiring or contaminating insulation, German cockroaches with daytime activity or multiple life stages, wildlife in attics, and any infestation affecting medically vulnerable residents or food facilities. Also call when you cannot identify the pest, cannot access the source safely, or trap and monitor evidence fails to decline after a properly executed plan.
This practical guide is designed for homeowners who searched for when to call a professional exterminator and need a reliable next step. It focuses on observable evidence, safe inspection, source control, and the point at which professional help becomes the sensible choice.
The advice is intentionally based on integrated pest management. That means identifying the pest first, reducing food, water, shelter, and entry points, monitoring the result, and using a targeted treatment only when it is necessary. The goal is not simply to kill the individual insect or rodent that happened to be visible.
Before You Start
Preserve specimens, take photographs, record rooms and dates, save product labels from anything already applied, and write down relevant building defects. This evidence helps the company diagnose the problem and prevents duplicate or incompatible treatment.
- Clear specimen container or tape
- Dated photographs and video
- A simple room or building map
- Trap and monitor counts
- List of products already used
- Records of leaks, repairs, travel, deliveries, and neighboring activity
- A quote-comparison checklist
- License-verification contact for the local authority
Step-by-Step Method
Step 1: Classify the consequence of failure
Ask what happens if the pest remains for another month. Structural damage, wiring risk, disease concerns, severe allergy, food contamination, or spread to neighbors justify faster escalation.
Treat this as an inspection task rather than a race to apply a product. Write down what you see, take a clear photograph, and check the same area again after dark. The pattern over several hours is usually more useful than a single sighting.
Step 2: Confirm the evidence
Capture the pest or document credible signs. Bites, noises, odor, or one damaged board are clues but may not identify the cause alone.
Use a flashlight and move slowly. Many pests stay within a few feet of food, moisture, warmth, or a protected crack. A careful five-minute check often reveals droppings, shed skins, webbing, grease marks, damaged packaging, or an entry gap that explains the activity.
Step 3: Assess access and personal safety
Walls, roofs, chimneys, electrical panels, crawl spaces, high ladders, aggressive nests, and contaminated attics are not appropriate DIY environments.
Do not disturb every hiding place at once. Work from the clean side toward the suspected source so you do not scatter insects or carry them to another room. Place anything suspicious in a sealable bag until identification is confirmed.
Step 4: Consider pest biology
Bed bugs, termites, German cockroaches, fleas, and rodents have hidden stages or routes that make one visible treatment misleading.
Record the date and exact location. If you later hire a professional, this information helps distinguish an isolated visitor from an established infestation and can reduce unnecessary treatment.
Step 5: Review the building context
Attached housing, restaurants, healthcare, childcare, rentals, and shared utility systems require coordination beyond one room.
Treat this as an inspection task rather than a race to apply a product. Write down what you see, take a clear photograph, and check the same area again after dark. The pattern over several hours is usually more useful than a single sighting.
Step 6: Evaluate what DIY has actually achieved
Use trap counts, new damage, droppings, or captures. If objective evidence is flat or rising after a correct plan, continuing the same method is not economy.
Use a flashlight and move slowly. Many pests stay within a few feet of food, moisture, warmth, or a protected crack. A careful five-minute check often reveals droppings, shed skins, webbing, grease marks, damaged packaging, or an entry gap that explains the activity.
Step 7: Choose the correct professional type
Pest technicians, wildlife operators, beekeepers, plumbers, roofers, electricians, engineers, and mold specialists solve different parts of a problem.
Do not disturb every hiding place at once. Work from the clean side toward the suspected source so you do not scatter insects or carry them to another room. Place anything suspicious in a sealable bag until identification is confirmed.
Step 8: Verify licensing and insurance
Requirements vary. Check credentials directly and confirm that the provider is authorized for the pest, method, and jurisdiction.
Record the date and exact location. If you later hire a professional, this information helps distinguish an isolated visitor from an established infestation and can reduce unnecessary treatment.
Step 9: Demand identification and written scope
The proposal should explain evidence, treatment area, methods, preparation, number of visits, exclusions, safety, monitoring, and warranty.
Treat this as an inspection task rather than a race to apply a product. Write down what you see, take a clear photograph, and check the same area again after dark. The pattern over several hours is usually more useful than a single sighting.
Step 10: Compare major quotes
For expensive termite, bed bug, fumigation, exclusion, or remediation work, obtain two or three comparable scopes unless immediate safety prevents delay.
Use a flashlight and move slowly. Many pests stay within a few feet of food, moisture, warmth, or a protected crack. A careful five-minute check often reveals droppings, shed skins, webbing, grease marks, damaged packaging, or an entry gap that explains the activity.
Step 11: Prepare and cooperate correctly
Follow written preparation without improvising. Tell the company about children, pets, aquariums, allergies, pregnancy, medical vulnerability, and every previous product.
Do not disturb every hiding place at once. Work from the clean side toward the suspected source so you do not scatter insects or carry them to another room. Place anything suspicious in a sealable bag until identification is confirmed.
Step 12: Measure the result
Keep monitors in place, record follow-up findings, complete agreed repairs, and invoke warranty procedures promptly if evidence continues.
Record the date and exact location. If you later hire a professional, this information helps distinguish an isolated visitor from an established infestation and can reduce unnecessary treatment.
Mistakes That Make the Problem Worse
Hiring before identification
A company should show what it found and why the proposed method fits.
The problem is not merely that this approach may fail. It can remove the visible evidence while leaving eggs, larvae, a nest, or an entry route untouched, making the next inspection more difficult.
Choosing only by price
The cheapest quote may exclude follow-up, exclusion, cleanup, preparation assistance, or neighboring-unit inspection.
A better approach is to identify the pest, correct the condition supporting it, and then use the least disruptive effective treatment. That sequence is central to integrated pest management.
Believing a permanent guarantee
Pests can be reintroduced and buildings change. Read conditions, covered species, renewals, and exclusions.
In apartments and attached homes, an uncoordinated treatment can also push pests through pipe chases, wall voids, or shared hallways. Inform property management when activity may involve more than one unit.
Calling every provider an exterminator
Wildlife, bees, moisture damage, wiring, and structure may need licensed specialists outside ordinary pest control.
Always read the complete product label. Never mix products, increase the dose, or use an outdoor pesticide indoors simply because the pest appears urgent.
Hiding DIY product use
Undisclosed sprays or powders can create safety issues and interfere with bait or monitoring.
The problem is not merely that this approach may fail. It can remove the visible evidence while leaving eggs, larvae, a nest, or an entry route untouched, making the next inspection more difficult.
Waiting through structural or health red flags
Delay can increase repair cost, spread, contamination, and medical risk.
A better approach is to identify the pest, correct the condition supporting it, and then use the least disruptive effective treatment. That sequence is central to integrated pest management.
Assuming professional means pesticide-heavy
A reliable company should use inspection, exclusion, sanitation, moisture control, and monitoring as well as targeted products.
In apartments and attached homes, an uncoordinated treatment can also push pests through pipe chases, wall voids, or shared hallways. Inform property management when activity may involve more than one unit.
Long-Term Prevention
Maintain an evidence folder
Keep photographs, service reports, labels, warranties, and repair invoices.
Prevention works best when it becomes part of routine home maintenance. Add the item to a monthly or seasonal checklist instead of waiting for another sighting.
Use permanent monitors in high-risk zones
Early detection reduces the scope and cost of professional treatment.
After making the change, monitor the area for at least two to four weeks. Fewer sightings, clean traps, and the absence of new damage are better measures of progress than one pest-free day.
Complete building repairs
A service cannot compensate indefinitely for open gaps, leaks, damaged screens, or shared waste problems.
Pay special attention to hidden moisture and clutter. Pests frequently use spaces that are rarely moved, such as cardboard storage, the void beneath appliances, cabinet toe-kicks, attic insulation edges, and areas around plumbing penetrations.
Review recurring plans annually
Confirm that visits are producing measurable prevention rather than automatic application.
For rental or multiunit housing, document the condition with dated photographs and report building defects in writing. Exclusion and moisture repairs often require action beyond the individual apartment.
Report multiunit problems promptly
Delays allow pests to move through shared infrastructure and complicate responsibility.
Prevention works best when it becomes part of routine home maintenance. Add the item to a monthly or seasonal checklist instead of waiting for another sighting.
Schedule preventive inspections selectively
Homes with termite history, high-risk construction, or previous rodent entry may justify periodic professional checks.
After making the change, monitor the area for at least two to four weeks. Fewer sightings, clean traps, and the absence of new damage are better measures of progress than one pest-free day.
When to Stop DIY Work and Call a Professional
The threshold is not embarrassment or fear. It is the combination of uncertainty, consequence, access, and evidence. A professional is worth the cost when their inspection, equipment, coordination, and accountability reduce a larger expected loss.
- Confirmed or strongly suspected termites.
- Confirmed bed bugs or evidence in more than one room.
- German cockroach nymphs, egg cases, daytime activity, or multiunit spread.
- Rodent wiring damage, heavy contamination, or inaccessible wall and attic activity.
- Wasps, hornets, or bees in walls, roofs, chimneys, or high locations.
- Bats, birds, squirrels, raccoons, or protected wildlife.
- Repeated treatment has not reduced objective evidence.
- The work involves vulnerable residents, food service, healthcare, or childcare.
Frequently Asked Questions
Should I call an exterminator after seeing one bug?
Usually not. Capture and identify it, then inspect for repeated evidence. Exceptions include a confirmed termite swarmer pattern, bed bug, or dangerous stinging insect.
How long should I try DIY pest control?
Set an evidence-based deadline appropriate to the pest. If traps, sightings, or damage do not decline, or activity spreads, escalate rather than repeat the same method.
What should a professional inspection include?
Species identification, evidence, affected areas, supporting conditions, treatment options, safety instructions, monitoring, and a written scope.
Do I need three quotes?
For expensive, non-emergency work, two or three detailed quotes are prudent. Minor urgent services may not justify that delay.
Can an exterminator repair entry holes?
Some provide exclusion; others do not. Separate pest removal, sealing, cleanup, and construction in the quote.
What if companies disagree on the pest?
Preserve specimens and consider an independent extension service, entomologist, wildlife specialist, or second inspection before expensive treatment.
Are recurring plans always necessary?
No. They are useful for documented recurring risk, but many homes can use maintenance, monitoring, and one-time service as needed.
How do I know treatment worked?
Objective evidence—trap counts, captures, fresh droppings, new damage, live sightings, and follow-up inspection—should decline to the agreed endpoint.
Final Homeowner Checklist
- Assess health and structural risk.
- Preserve evidence.
- Stop unsafe access work.
- Verify credentials.
- Demand a written IPM scope.
- Compare major quotes.
- Measure results and retain records.
Keep your notes and photographs. If the problem returns, compare the new activity with your original record instead of starting from zero. A clear timeline helps you decide whether the source was removed, whether a second area is involved, and whether a professional inspection is now justified.
Related StraBug Guides
- How to Choose a Reliable Pest Control Company
- DIY Pest Control vs Professional Extermination
- How Much Does Pest Control Cost in 2026?
Sources and Editorial References
- EPA: Integrated Pest Management Principles
- EPA: Safe Pest Control
- Angi: Pest Control Cost 2026
- Housecall Pro: Pest Control Prices 2026
A Practical Two-Week Follow-Up Plan for When Should You Call a Professional Exterminator?
- Keep monitoring devices in the same labeled locations.
- Record sightings, sounds, droppings, damage, or moisture at the same time each day.
- Complete exclusion only after you are sure it will not trap active pests inside a wall or attic.
- Clean in a way that removes food and debris without disturbing bait placements or spreading contaminated material.
- Review the area after rain, temperature changes, travel, deliveries, or construction work because these events can change pest activity.
- Escalate to a professional when evidence increases, spreads to a second room, affects wiring or structural wood, or creates a sting, bite, allergy, or sanitation risk.
A follow-up period matters because many household pests have hidden stages or travel through areas you cannot see. The absence of one adult insect today does not prove that eggs, larvae, a colony, or an entry route has been eliminated.
Create an Evidence Log for When Should You Call a Professional Exterminator?
A simple evidence log prevents guesswork. Begin with the date, room, exact surface, approximate size, number of specimens, and whether the evidence was live, dead, fresh, or old. Add photographs from the same angle and distance whenever possible. For when should you call a professional exterminator?, record the environmental conditions that could matter: recent rain, indoor humidity, a delivery, travel, a plumbing repair, a new pet, landscaping work, or a neighboring treatment. Label every monitor and trap with its position and installation date rather than moving devices whenever a single capture occurs.
Review the log once per week. Look for a pattern instead of reacting to every isolated event. Evidence concentrated near one drain, window, appliance, bed, or utility opening suggests a local source. Evidence appearing along a shared wall or on several floors suggests a route through the structure. A falling count after sanitation, exclusion, or treatment is useful confirmation; an unchanged or increasing count means that the source, method, or treatment boundary must be reconsidered. Bring this record to any professional inspection. It can shorten diagnosis, reduce unnecessary treatment, and provide a clear basis for warranty follow-up.
Adapt the Plan to the Building and Season
The same when should you call a professional exterminator? problem can behave differently in a detached house, an apartment, a historic property, or a building with a crawl space. Shared walls, pipe chases, suspended ceilings, loading areas, waste rooms, and common laundry spaces can connect areas that appear separate. In a rental or managed property, report structural defects and multiunit activity in writing with dates and photographs. A treatment limited to one room cannot overcome an untreated source in a neighboring unit or common area.
Season also changes the interpretation. Outdoor insects may enter during heat, drought, heavy rain, harvest, or the first cold nights without establishing an indoor population. Rodents and overwintering insects often increase when weather turns colder. Moisture pests may rise after humid weather, plumbing leaks, or poor ventilation. Compare current evidence with weather and building events before deciding that a product failed. Schedule exterior inspection before the usual seasonal pressure begins, and recheck repairs after storms, freeze-thaw movement, roofing work, utility installation, or remodeling.